Replacing the fans in a gaming laptop can be a bit tricky, but it’s doable if you’re comfortable working with hardware and have the necessary tools. Here’s a general guide on how to replace the fans in a gaming laptop:
Note: Opening up your laptop might void its warranty, so proceed with caution. If your laptop is still under warranty, consider contacting the manufacturer or an authorized service center for fan replacement.
Tools Needed:
- Screwdrivers (typically Phillips-head)
- Thermal paste (for reapplying on the CPU/GPU)
- Anti-static wrist strap (recommended to prevent static discharge)
Where to buy Fans, Fans are available online for all models, few are listed below with affiliate links. If you have access to computer spare market closer to you then you should get it done there and pay some expert to fix the fans for you.
Steps:
- Prepare Your Workspace:
- Find a clean, well-lit, and static-free area to work in.
- Gather your tools and components.
- Power Down and Unplug:
- Shut down your laptop and unplug it from any power source.
- Remove the Battery:
- If possible, remove the laptop’s battery to ensure complete safety.
- Disassemble the Laptop:
- Carefully remove the screws from the laptop’s bottom cover using the appropriate screwdriver.
- Keep track of where each screw came from; they may be of different lengths or types.
- Gently pry open the bottom cover, being cautious not to damage any clips or connectors.
- Locate the Fans:
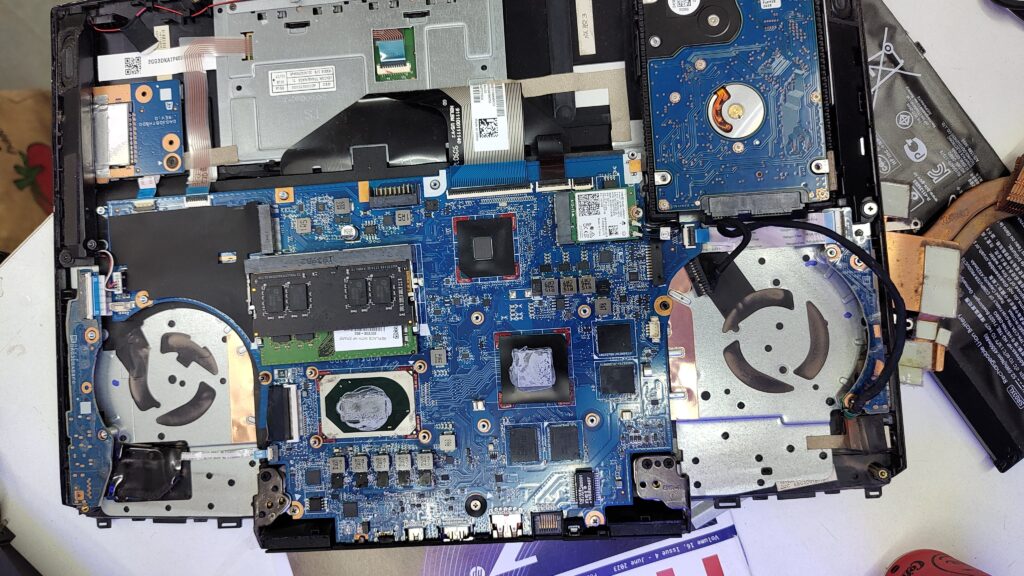
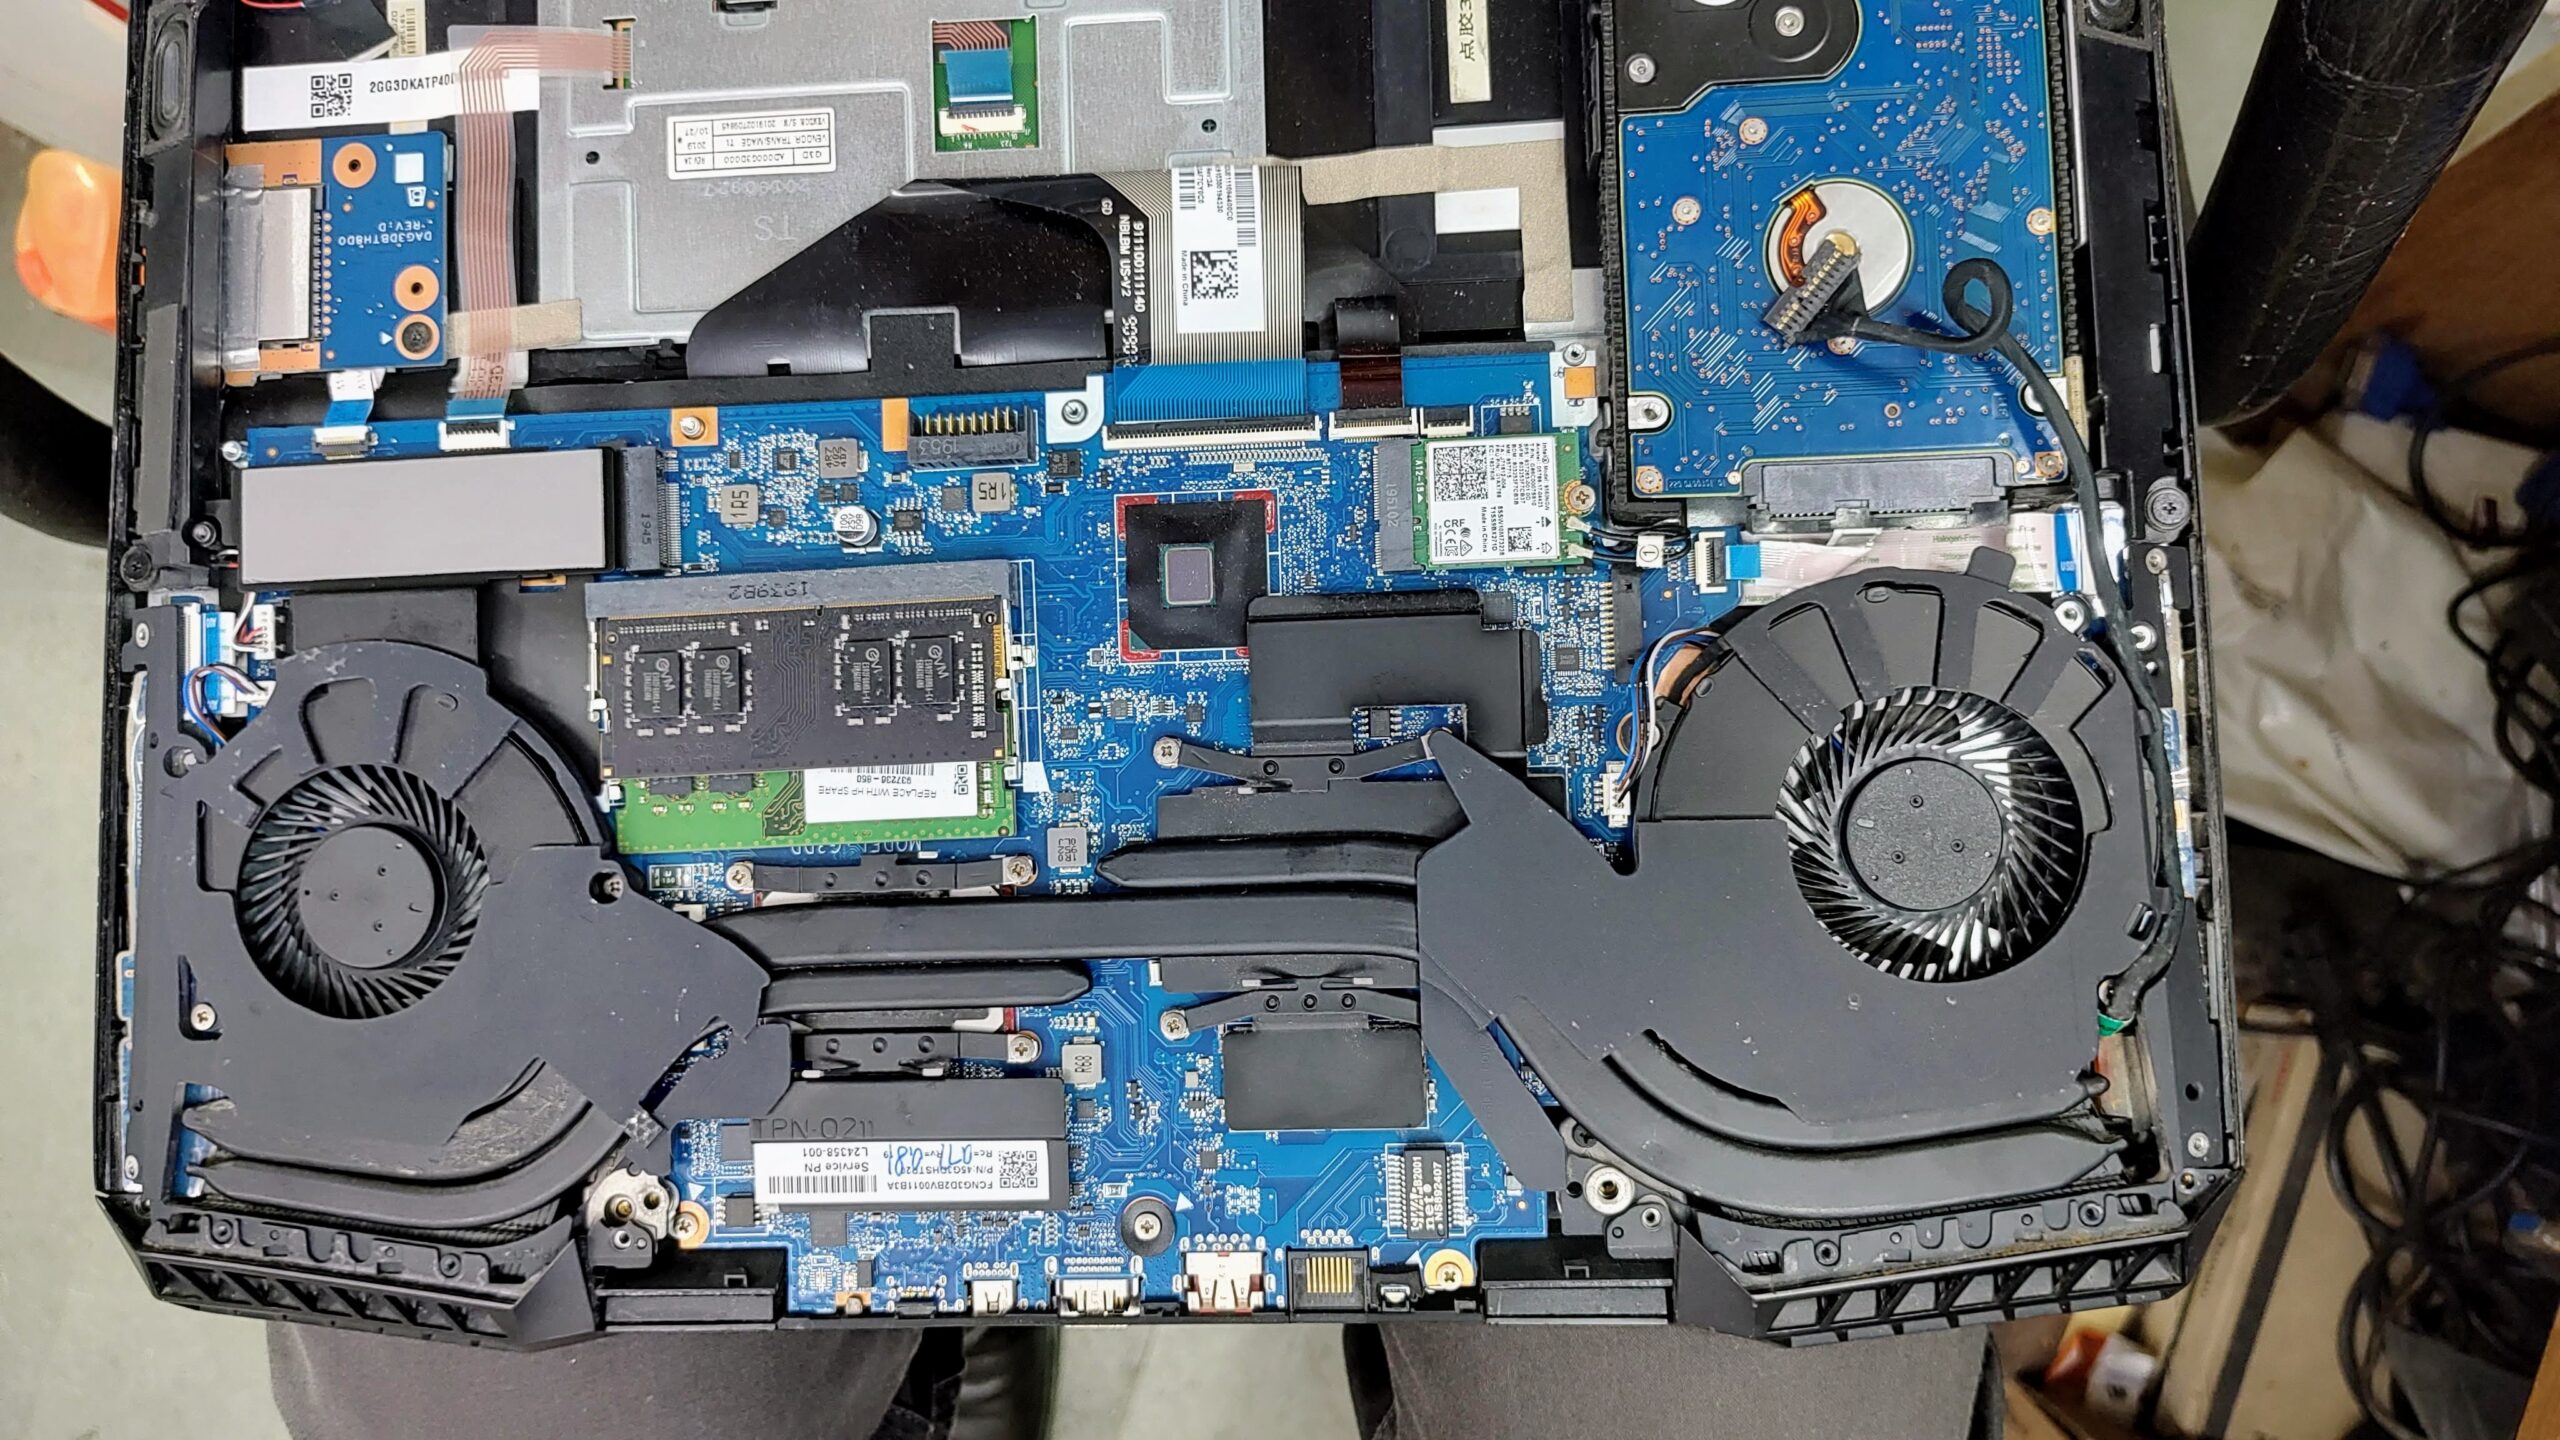
- Locate the cooling fans inside the laptop. They’re usually located near the CPU and GPU. These fans will be connected to the motherboard with cables.
- Disconnect the Fans:
- Gently disconnect the cables that connect the fans to the motherboard. These connectors might have locking mechanisms that you’ll need to release before pulling them out.
- Remove the Fans:
- Unscrew the fans from the laptop’s chassis. Again, keep track of the screws’ locations.
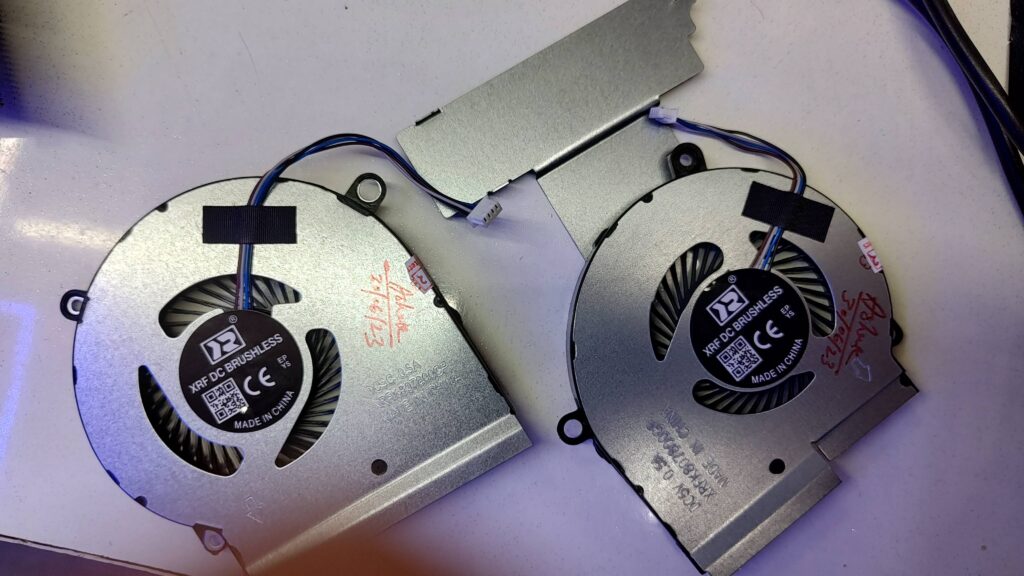
- Lift out the fans, taking care not to damage any surrounding components.
- Clean and Apply Thermal Paste:
- Before installing the new fans, clean the old thermal paste from the CPU and GPU using isopropyl alcohol and a lint-free cloth.
- Apply a thin, even layer of new thermal paste to the CPU and GPU. This helps ensure proper heat transfer.
- Install New Fans:
- Position the new fans in place and secure them with the screws you removed earlier.
- Connect the fan cables to the appropriate connectors on the motherboard.
- Reassemble:
- Carefully put the laptop’s bottom cover back in place.
- Secure it with the screws, making sure not to overtighten them.
- Test:
- Reattach the battery (if you removed it) and plug in the laptop.
- Power it on and check if the fans are spinning correctly.
- Monitor temperatures to make sure the cooling is effective.
Remember that each laptop model might have its own specific disassembly and reassembly process. It’s a good idea to consult your laptop’s user manual or search for specific guides or videos related to your laptop model. If you’re not confident in your skills, it’s best to have the fan replacement done by a professional technician.


